Quality & Inspection

Once assembly gets a fixture far enough along to be inspected, it is moved to a temperature controlled CMM lab where the locating points are checked on our large capacity Zeiss Accura II 2000/3000/1500. PDQ designs feature grind shim adjustment of rest pad height and round pin/diamond pin location. Our CMM operator uses the grind shims to dial in the locating features. CMM programs are saved by fixture number, so that repeat fixtures are inspected exactly the same way. The final green sheet CMM reports are made available to the customer.
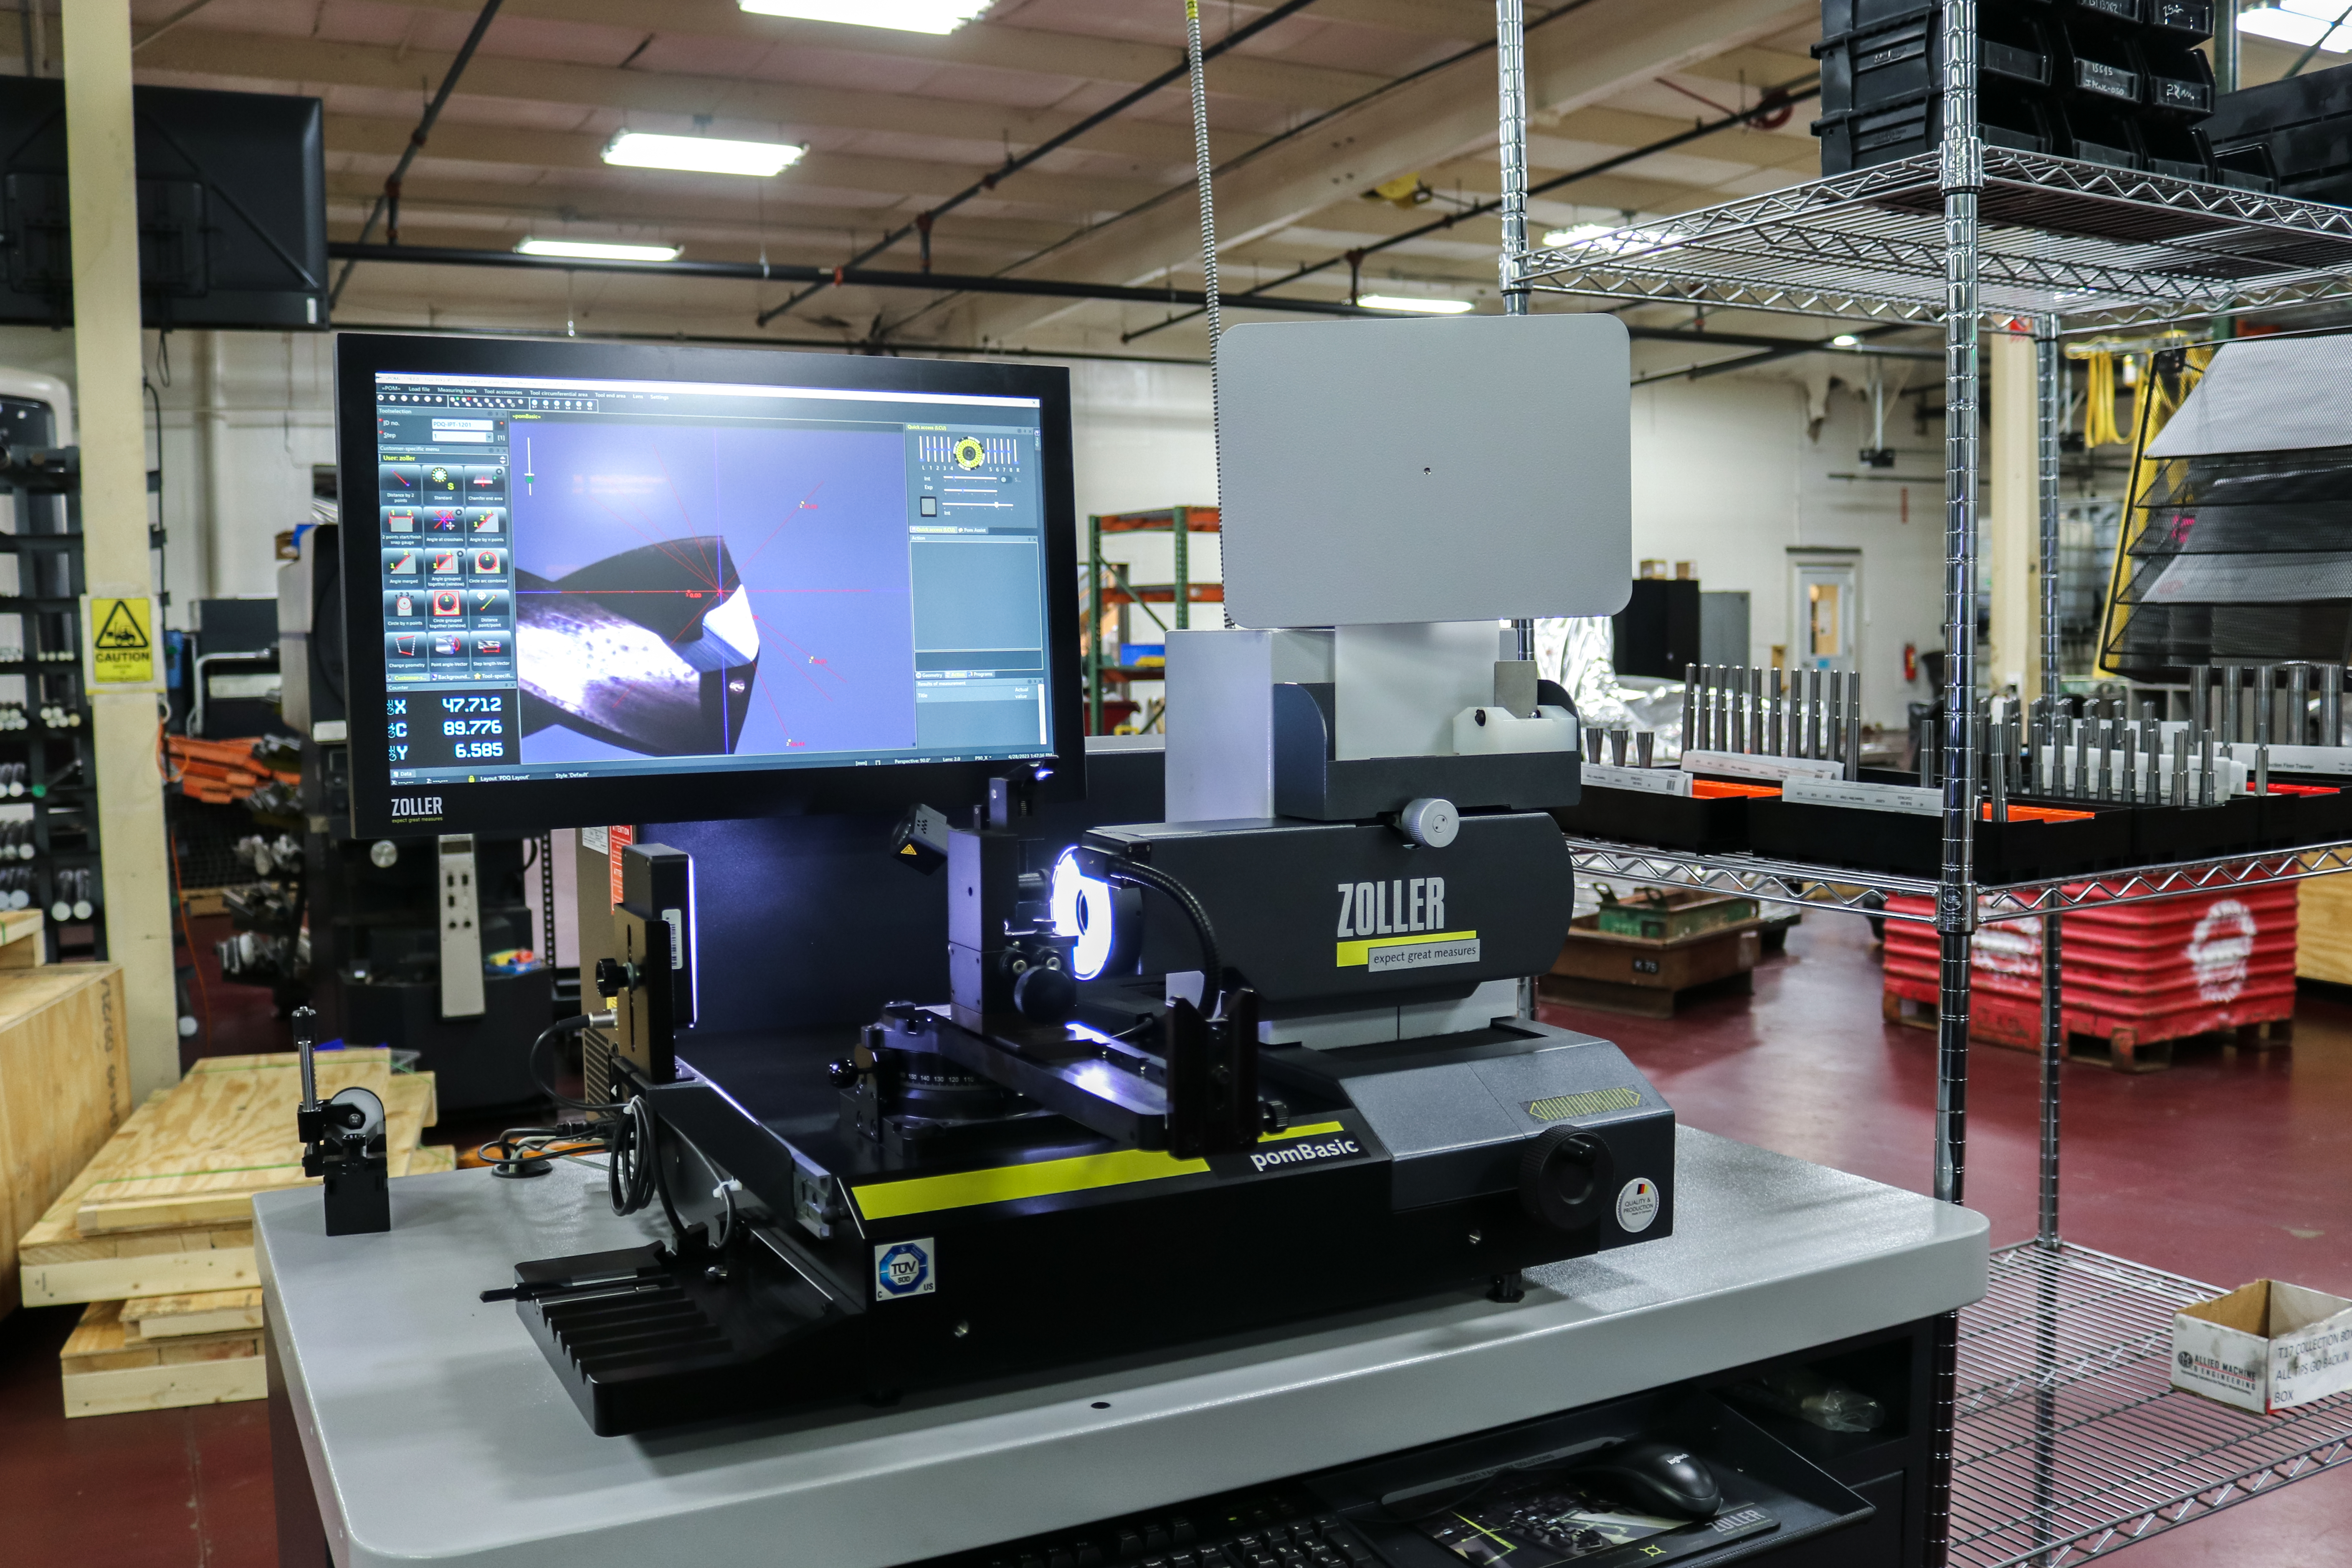
Cutting tools are dynamically balanced Haimer balancer, and inspected on a Zoller tool presetter. Spindle tapers are verified with Bilz taper gauging equipment. A Zeiss Centermax is also available for other inspection tasks.
